This is an article sent to me by Leighton Taylor on the use of survival knifes.
Howard
Should the world as we know it come to an end (think natural disaster, societal collapse, or the invasion of zombies) or you just got plain lost in the wild, you may suddenly find yourself having to depend on your surroundings to provide you with much needed sustenance. That’s why it’s vitally important that one of the skills you possess now is how to use your survival knife to get you some grub.
3 Ways to Find Food Using Your Survival Knife:
Finding edible grub and other such insects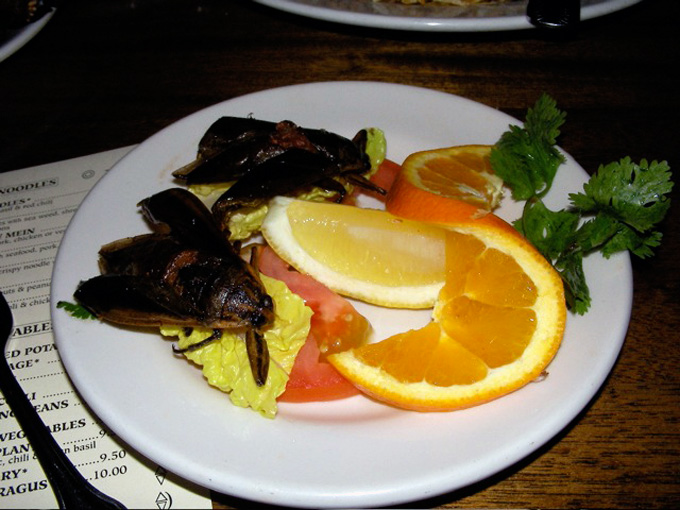
Photo by George Arriola. Used under Creative Commons.
Obviously, you might not be too comfortable with the thought of eating a bug, but if you’re in a survival situation, you’ll need food that’s rich in protein and fat – two things that insects can provide. Of course, not all insects are edible. We all know that. So how can you tell which ones will be life-giving and which ones will be really bad for you? The basic rule of thumb when it comes to eating insects is to avoid any that are brightly colored, pungent, and/or hairy.
Now, to find your edible insects, you’ll need to use your survival knife (or something similar) to dig them out of their hiding places. Try not to use your hands to avoid injuring yourself or getting bitten instead of being the one doing the biting. Some insects have underground nests while others are found under rocks or inside rotten wood. And though you might fancy yourself a true survivor man (or woman) like Bear Grylls, make sure to cook the insects in boiling water before you even attempt to eat it just to be on the safe side.
Making Traps or Snares
Photo by Biblioteca de la Facultad de Derecho y Ciencias del Trabajo. Used under Creative Commons.
One of the best ways to catch food is to create traps or snares. Not only is it way easier than hunting or spearfishing (things we will be talking about later), but you also don’t need to lie in wait for your food. (This means you can use that time to do something else like building your shelter or finding water.)
Using your survival knife, it’s quite easy to build yourself small traps and snares; the simplest one being the “simple snare.” The name speaks for itself. To do this, you’ll need some type of cord like a flexible wire or twine that won’t easily snap when an animal pulls on it. You can use your shoe strings or your fishing line (if you have one with you). You can also opt to get natural “cord” from plants and trees. Some good sources would be stinging nettle, cattail, and milkweed.
You’ll also need a small stake – either you find one or create one using your survival knife. Once you have those two, create a noose. The size should be bigger than your prey’s head, around half a head larger would be ideal. Attach your noose to the stake and stick it on the ground. Make sure that the stake will hold even when the animal keeps pulling against it. The noose should be laid out in such a way that the animal’s head will pass through it when it walks into your trap. You can use grass or some small twigs to keep it in position. Make sure that your snare is in a location where animals frequently pass.
Hunting or Spearfishing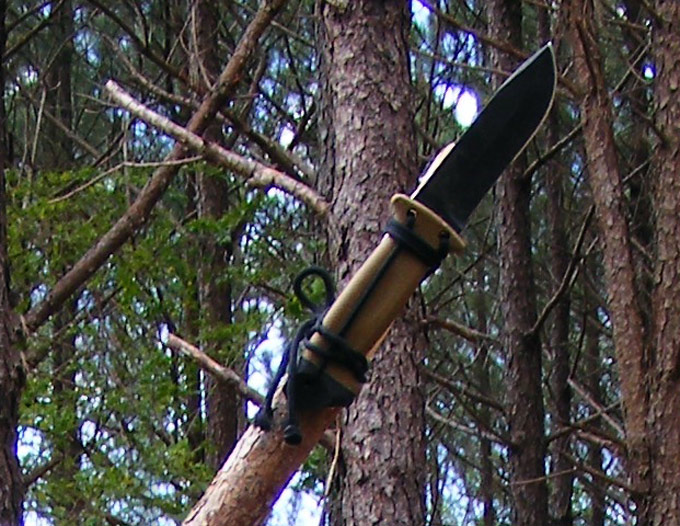
Photo by Mike Petrucci. Used under Creative Commons.
Another great way to use your survival knife to get food in the wild is to hunt game or spear fish. Both game and fish are great sources of protein and fats which are necessary for survival. Of course, hunting and spearfishing aren’t exactly easy to do. Both take a lot of practice to perfect. Before you can perfect your aim though, you’ll need to know how to make a spear.
To create a spear, you’ll need to find a stick that is around five feet long. The stick should be durable enough that it won’t break even after getting thrown numerous times. Look at the ends of your stick and use the more rounded end to function as the tip of your spear. Then, with the “tip” end of your stick pointing down at a 45 degree angle, shave the end of the stick in a downwards motion. Your starting point should be around 4 inches from the tip. Make sure that you frequently rotate the stick while you sharpen it so that the tip is even. Once you’re done creating the pointed tip, dry out the wood over some hot coals to make your spear sharper. Make sure to rotate the stick slowly as you dry it out.
Another method for creating a spear is to lash your survival knife onto a stick. Some survival knives feature “spear-holes” that are specifically designed for you to tie your blade to a wooden shaft or stick. If your knife is lacking that feature, you can still tie the two items together (although it might be less secure).
Before you start lashing your knife to a stick, though, you’ll need to create a shelf where your knife will comfortably “sit.” To create a shelf, get a 3-5 foot long stick. Cut off a bit of the ends to to make them flat. Measure the length of your knife’s handle by holding it next to one end of the stick (with the entire blade sticking out) and mark the spot where the handle ends. Split the stick using your survival knife, but don’t go past the marking you made. Cut one of the side of the split wood off and you’ll have a shelf. Place the knife’s handle on the shelf and lash it using whatever material you have handy. With your DIY spear, hopefully you’ll be able to bring home the bacon… literally.
Obviously, there are more than just these 3 ways to use your survival knife for procuring food. But, in a pinch, these should keep you from starving to death until you reach civilization or create a new world order.
